[android : kotlin] 코틀린 OnClickListener() 사용방법(Button 사용법)
OnClickListener() 리스너는 사용자가 버튼을 눌렀을 때 반응하는 이벤트 처리를 하기 위해 사용된다.
코틀린 OnClickListener() 사용방법
OnClickListener()를 사용하는 방법에는 inner class로 생성 후 사용하는 방법과 람다식을 사용하는 방법이 있다.
1. inner class를 사용하여 처리하는 방법
inner class 명으로 ButtonListener 지정 후 View 클래스의 OnClickListener()인터페이스를 상속 받겠다고 선언한다. on을 타이핑 하면 자동완성 기능으로 리스트로 띄워준다. 참 개발하기 편하다. 원리만 알고 있다면 외워서 코딩할 필요가 없는 세상이 되었다. 코틀린에서는 인터페이스를 상속받기 위해서 콜론(:)을 사용한다. 자바언어의 경우 implements를 사용했다. 자바에서는 클래스 안에서 클래스를 선언하면 자동으로 내부 클래스가 되었다. 그러나 코틀린에서는 내부클래스로 만들기 위해서는 inner 키워드를 사용해서 클래스를 만들어주어야 한다.

override fun onCreate(savedInstanceState: Bundle?) {
        super.onCreate(savedInstanceState)
        setContentView(R.layout.activity_main)

        button1.setOnClickListener(ButtonListener())

        //var listener1 = ButtonListener()
        //button1.setOnClickListener(listener1)

        button2.setOnClickListener(ButtonListener2())
        button3.setOnClickListener(ButtonListener2())
    }

    inner class ButtonListener : View.OnClickListener {
        override fun onClick(v: View?) {
            text1.text = "1번 버튼 클릭!!"
        }
    }

    inner class ButtonListener2 : View.OnClickListener {
        override fun onClick(v: View?) {
            when (v?.id) {
                R.id.button2 -> text1.text = "2번째 버튼 클릭"
                R.id.button3 -> text1.text = "3번째 버튼 클릭"
                else -> null

            }
        }
    }
코틀린에서 when문은 자바에서 switch()문과 같다. 자바에서 case : 대신에 -> 를 사용하여 표현된다. 자바의 default 키워드는 else로 표현된다.
2. 람다식을 사용하는 방법
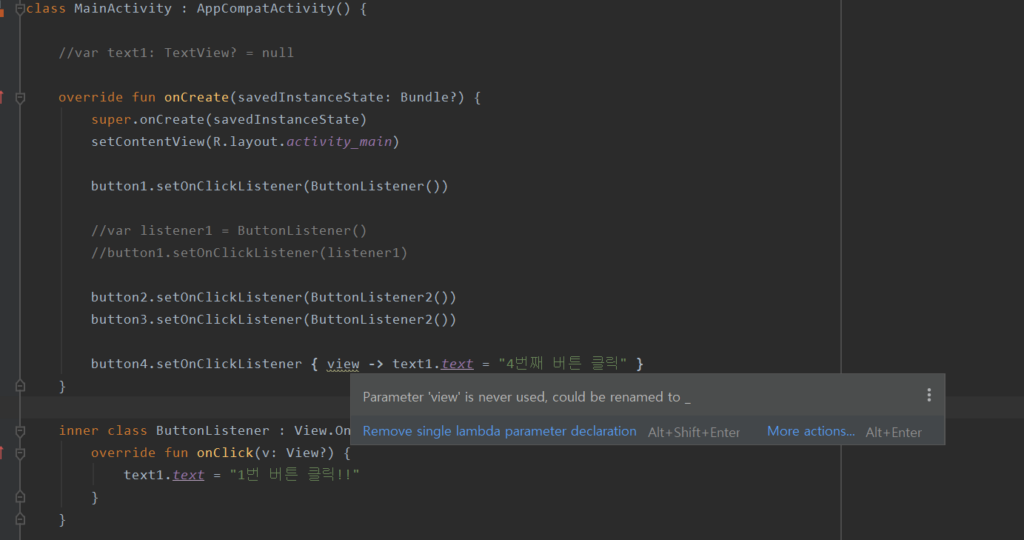
코틀린 언어가 업데이트 되면서 view -> 마져 코드 작성에서 제외해도 문제가 되지않는다.
button4.setOnClickListener { view -> text1.text = "4번째 버튼 클릭" }

button4.setOnClickListener { text1.text = "4번째 버튼 클릭" }

//둘 다 동일한 처리를 해준다.
[MainActivity.kt]
package edu.kotlin.study

import androidx.appcompat.app.AppCompatActivity
import android.os.Bundle
import android.view.View
import kotlinx.android.synthetic.main.activity_main.*

class MainActivity : AppCompatActivity() {

    override fun onCreate(savedInstanceState: Bundle?) {
        super.onCreate(savedInstanceState)
        setContentView(R.layout.activity_main)

        button1.setOnClickListener(ButtonListener())

        //var listener1 = ButtonListener()
        //button1.setOnClickListener(listener1)

        button2.setOnClickListener(ButtonListener2())
        button3.setOnClickListener(ButtonListener2())

        //button4.setOnClickListener { view -> text1.text = "4번째 버튼 클릭" }

        button4.setOnClickListener { text1.text = "4번째 버튼 클릭" }
    }

    inner class ButtonListener : View.OnClickListener {
        override fun onClick(v: View?) {
            text1.text = "1번 버튼 클릭!!"
        }
    }

    inner class ButtonListener2 : View.OnClickListener {
        override fun onClick(v: View?) {
            when (v?.id) {
                R.id.button2 -> text1.text = "2번째 버튼 클릭"
                R.id.button3 -> text1.text = "3번째 버튼 클릭"
                else -> null

            }
        }
    }
}
ButtonListener2()클래스에서 오버라이드해서 만든 메소드가(fun) 절에 onClick의 변수로 받는 View를 보면 ?처리를 하였다. 이는 널 값이 넘어올 수 도 있음을 뜻함으로 when()절에서 받을 때 반드시 ?로 처리를 동일하게 해주어야 오류가 발생하지 않는다. v?.id가 올바른 처리법이다. 물음표를 넣어주지않으면 오류가 난다.
[activity_main.xml]
<?xml version="1.0" encoding="utf-8"?>
<LinearLayout
    xmlns:android="http://schemas.android.com/apk/res/android"
    android:layout_width="match_parent"
    android:layout_height="match_parent"
    android:orientation="vertical">

    <TextView
        android:id="@+id/text1"
        android:layout_width="match_parent"
        android:layout_height="wrap_content"
        android:gravity="center"
        android:text="Hello World!"
        android:textAppearance="@style/TextAppearance.AppCompat.Display4" />

    <Button
        android:id="@+id/button1"
        android:layout_width="match_parent"
        android:layout_height="wrap_content"
        android:text="Button1" />

    <Button
        android:id="@+id/button2"
        android:layout_width="match_parent"
        android:layout_height="wrap_content"
        android:text="Button2" />

    <Button
        android:id="@+id/button3"
        android:layout_width="match_parent"
        android:layout_height="wrap_content"
        android:text="Button3" />

    <Button
        android:id="@+id/button4"
        android:layout_width="match_parent"
        android:layout_height="wrap_content"
        android:text="Button4" />


</LinearLayout>